Custom Landing Page
You can set up a custom HTML page to load instead of the first document - which is the default option when the docs site loads.
To change the landing page option follow the next steps:
Click on the Space you want to add a custom HTML landing page
Select the Appearance tab
Scroll down to Landing Page
Select Custom HTML
Add your HTML code in Landing page HTML field and hit Save. Keep in mind that this is your index.html file.
The Custom HTML supports Handlebars and Tailwind. You can interpolate some variables in the HTML template.
Here is the object that we pass to the template; you can render any of these variables:
export interface PublicDocTreeResponse {
  id: string
  name: string
  icon: string
  urlKey: string
  expanded?: boolean
  isCategory?: boolean
  categoryName?: string
  isLink?: boolean
  linkTitle?: string
  linkHref?: string
  linkOpensInNewTab?: boolean
  parentDocId?: string

  rightDoc?: PublicDocTreeResponse
  leftDoc?: PublicDocTreeResponse
  children: PublicDocTreeResponse[]
}

export type PublicSpaceLink = {
  label: string
  docSpaceId: string
  icon?: string
  versionLinks?: PublicVersionLink[]
  hasVersionsWithoutLinks?: boolean
}

export type PublicVersionLink = {
  label: string
  docSpaceId: string
  forkedFrom: string
  language: string
  versionLinks?: PublicVersionLink[]
}

export type PublicExternalLink = {
  label: string
  url: string
}
This is an example html for rendering custom html in the landing page:
<div class="flex flex-col justify-center items-center p-20">
  <div class="flex">
    <div class="font-semibold">publicLogoURL:</div>
    <img class="w-100" src="{{publicLogoURL}}" />
  </div>
  <div class="w-1/3">
    <h1 class="font-bold text-2xl">Props example</h1>

    <div class="flex">
      <div class="font-semibold">Id:</div>
      <div>{{ id }}</div>
    </div>

    <div class="flex">
      <div class="font-semibold">Name:</div>
      <div>{{ name }}</div>
    </div>

    <div class="flex">
      <div class="font-semibold">Icon:</div>
      <div>{{{ renderIcon icon }}}</div>
    </div>

    <div class="py-3">
      <p>Public Docs Tree:</p>
      <ol>
        {{#each publicDocsTree}}
        <li class="text-green-500">
          <a href="{{urlKey}}">
            <span class="font-semibold ">Name:</span>
            <span class="pl-3">{{name}}</span>
          </a>
          {{#if children}}
          <ul class="pl-4">
            {{#each children}}
            <li class="text-gray-500">
              <a href="{{urlKey}}">
                <span class="font-semibold ">Name:</span>
                <span class="pl-3">{{name}}</span>
              </a>
            </li>
            {{/each}}
          </ul>
          {{/if}}
        </li>
        {{/each}}
      </ol>
    </div>
  </div>
</div>
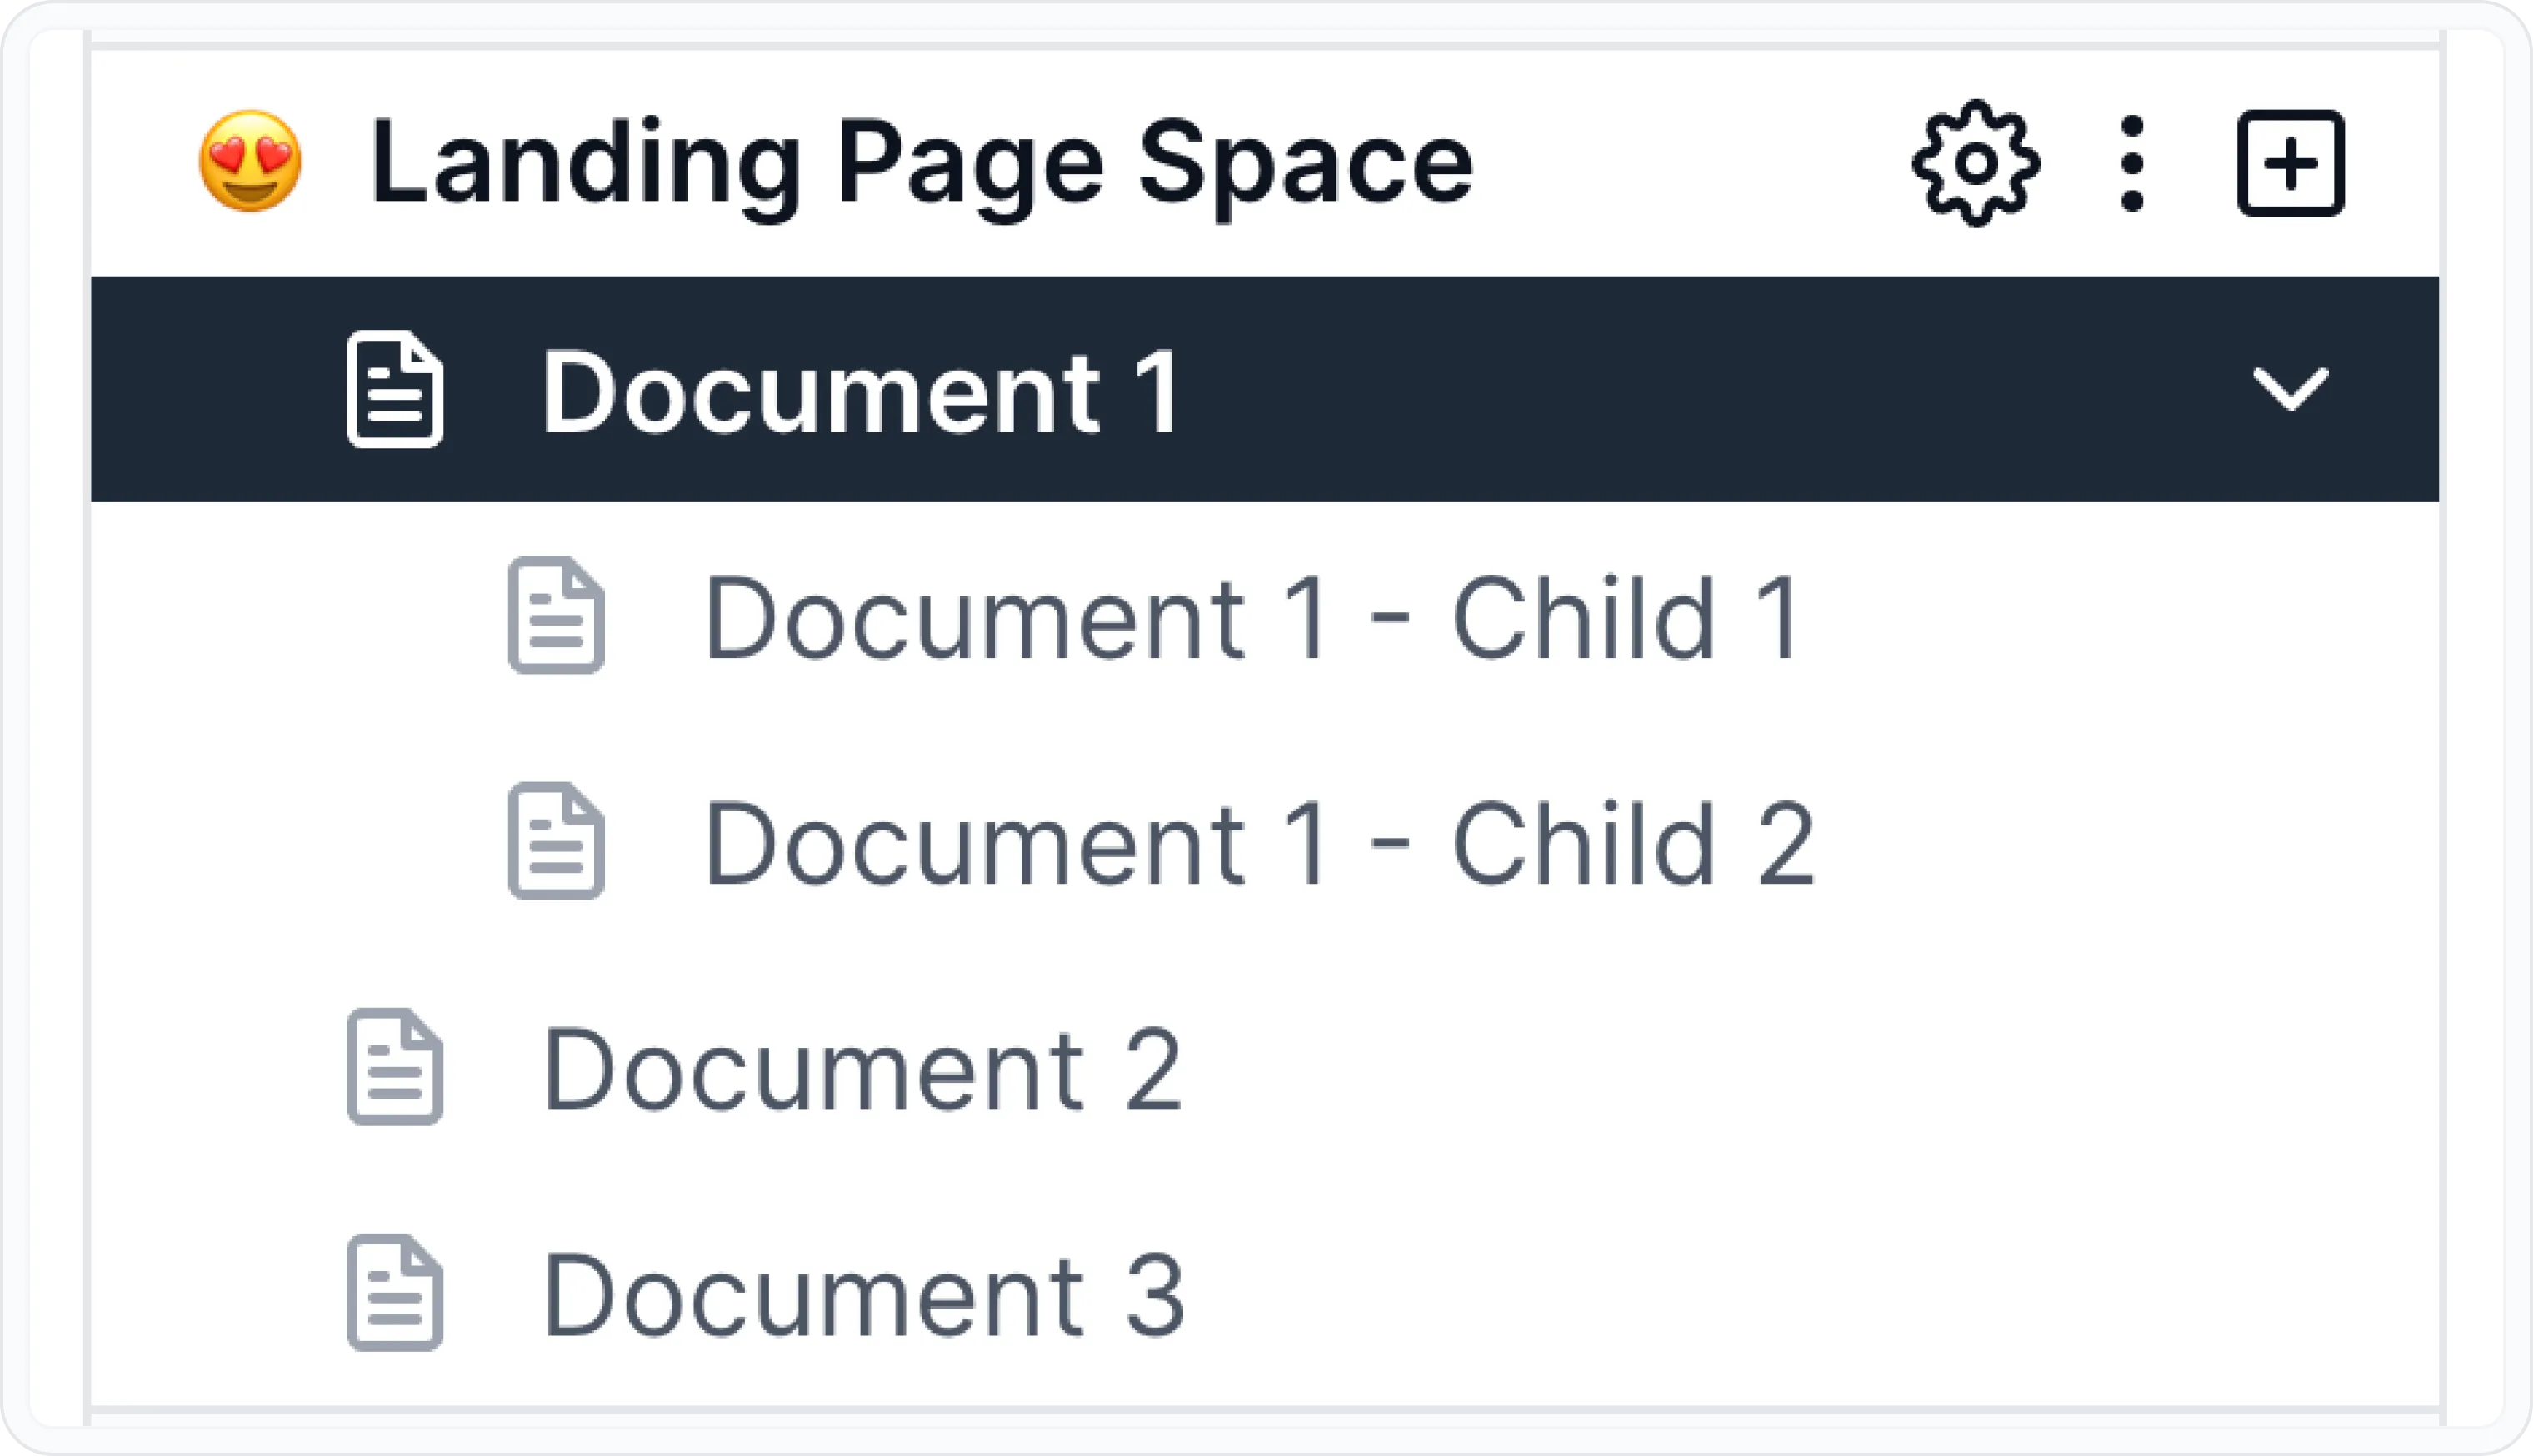
For a structure like this and an uploaded logo:
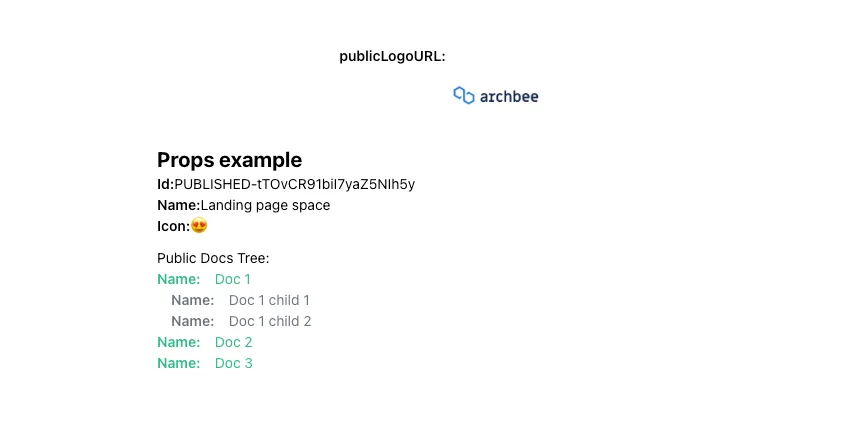
You should see something like this, with the above code:
Custom functions for activating search
On a custom landing page you can build your own search input, but you'll also need a way to show the search modal — we've got you covered.
On the `window` object of the browser there are 2 methods you can call to control the search modal.
// shows the search modal
window.showSearch()
// hides the search modal
window.hideSearch()
These functions are also available for usage in your custom scripts.